Add a Powermail Form to your page
If you already have your Powermail Form fields created, skip ahead to our guide on configuring your Powermail Form.
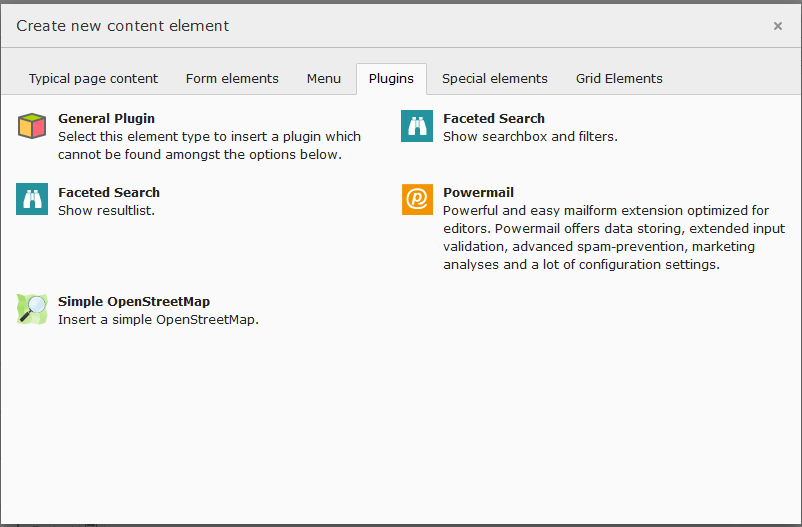
You can add a Powermail form in the same way as any other content element by clicking the + Content button. Under the tab Plugins, select Powermail.
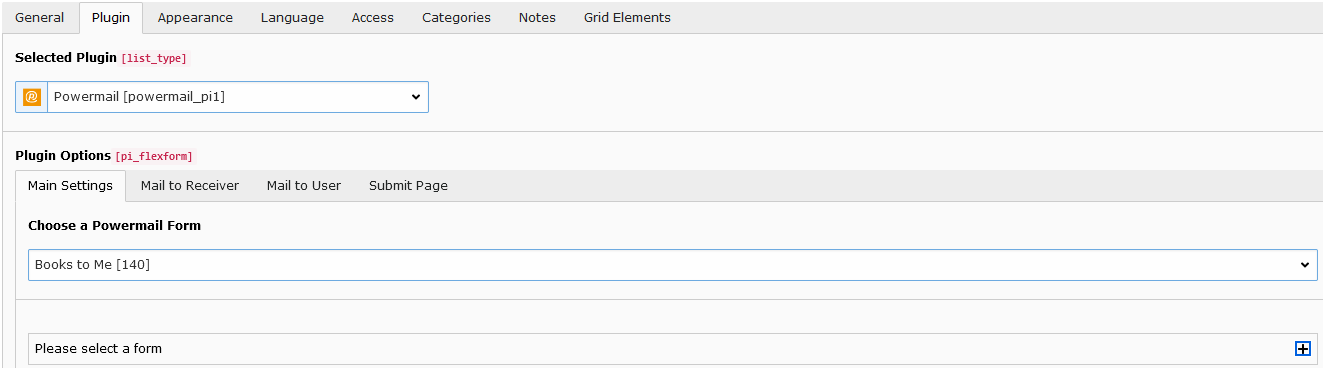
The below screen will appear, click the plus icon, which is next to “Please select a form.”
Fill in the Title field for the name of your new form. Under “Pages” Click “+ Create new Pages.”

Fill in the title field again that appears. Under “Fields” click “+ Create new Fields.”
Please note: The title can be the same name as above.

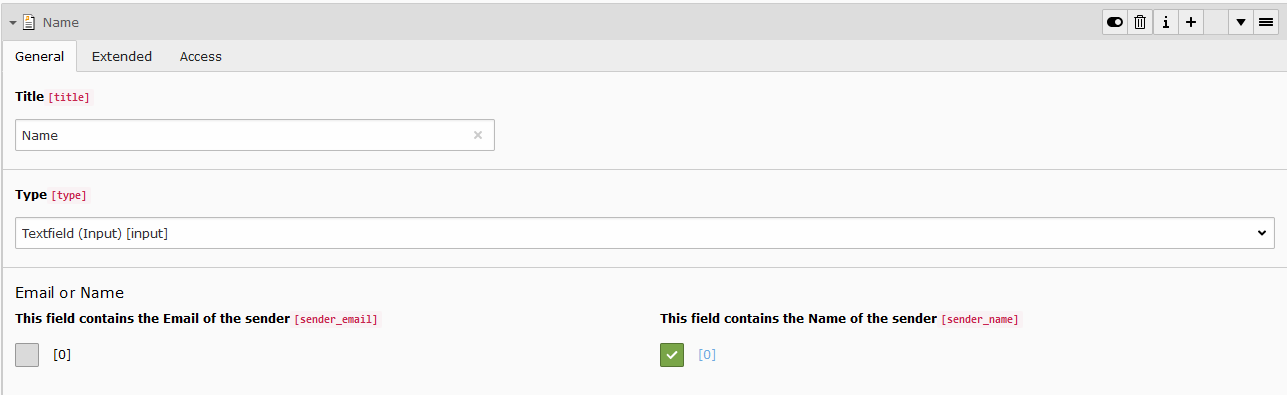
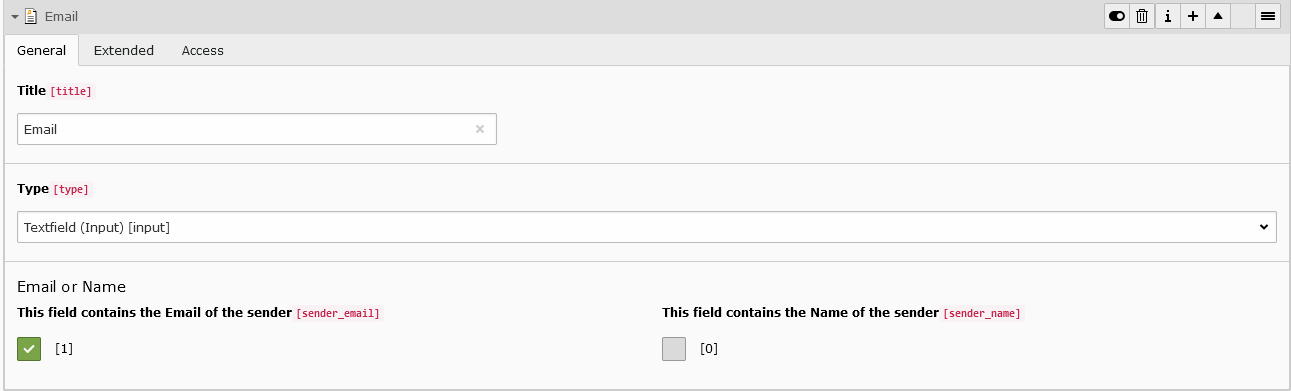
Fill in the title field. This would be a field that you would actively see on the form. For example, in the screenshot below, name has been used. If a name field is present, ensure that sender_name is ticked.
Please note: The type field will always default to "Textfield (input) [input]."
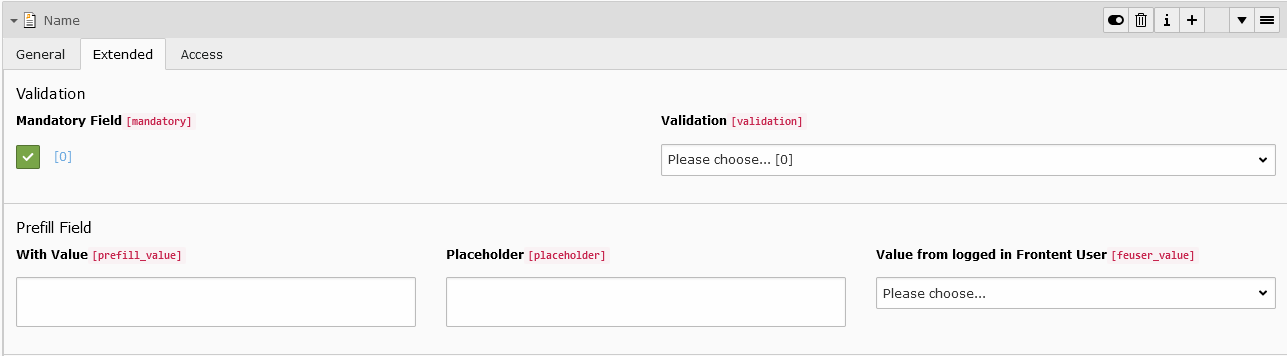
Under the Extended tab, ensure the "Mandatory Field" is ticked for the name field.
If an email field is present, ensure that "sender_email" is ticked.
If required, you can set the email field to be a mandatory field which is found in the Extended tab, which will force users to fill out the form with an email address. Under the Extended tab, ensure validation is set to Email.
Please note: The bin icon lets you delete any unwanted fields. The up and down arrows let you move the fields up or down the list.

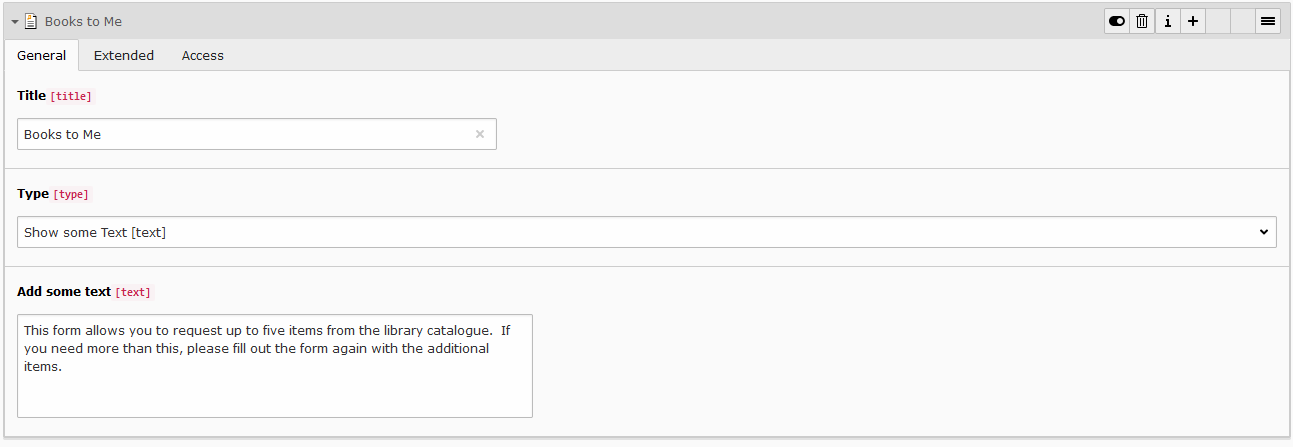
If a field needs to be explained in more detail to help the user fill out a form, select the "Show some more text" field type from the drop-down menu.
Fill in the title field. Please note this will not appear on the form and will just be for your own reference.
Fill in the field "Add some more text.". This field will appear either above or below the question it relates to depending on the order in which you have placed it.
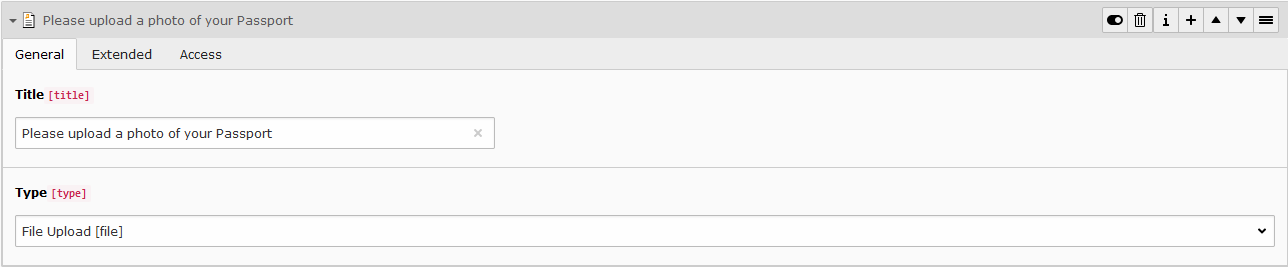
The "File Upload" type is useful for when you need form users to attach files or images.
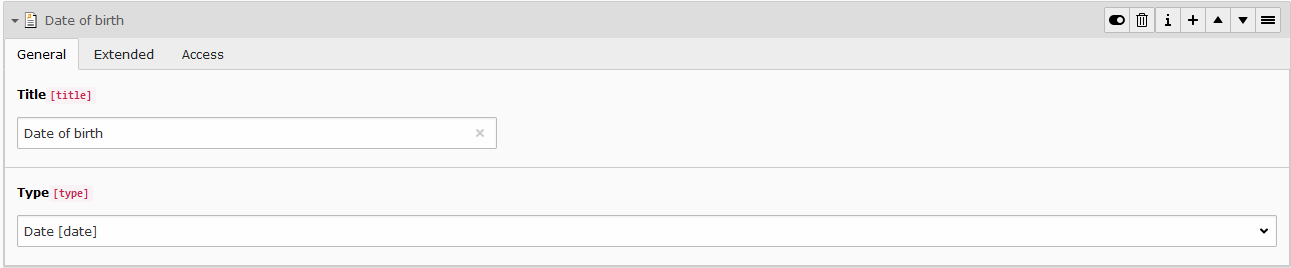
The "Date" type can be useful for users to record the date of an event. For example, date of birth, date of starting medication, etc.
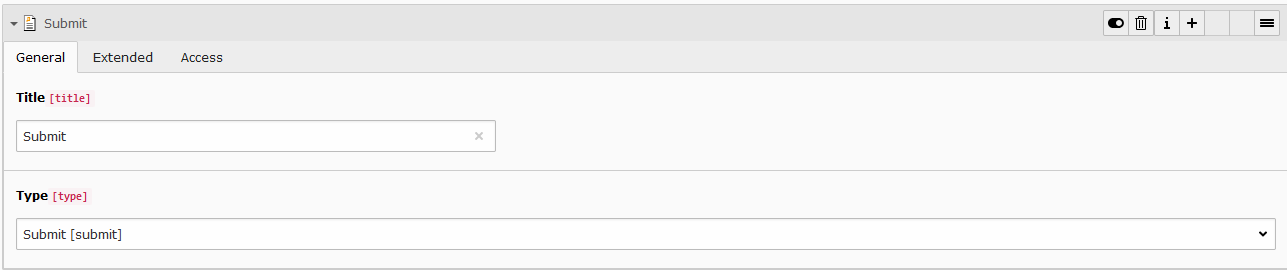
Once you have finished creating all the fields for your form, you will need to create one final field, the submit button. Make sure you select "Submit" from the type drop-down menu and name the title Submit.
Once you're done, click Save at the top of the page.
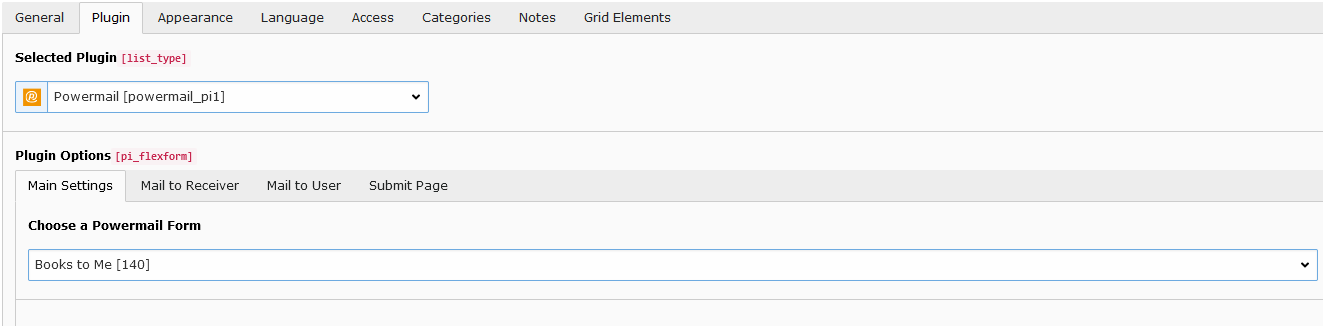
Under the Main Settings tab, make sure you select your new form from the drop-down menu.
Learn how to configure your Powermail Form
Once you have set up the form and added the fields, you will need to configure the form for it to send submission to you and the user filling out the form.